Git with Terminal
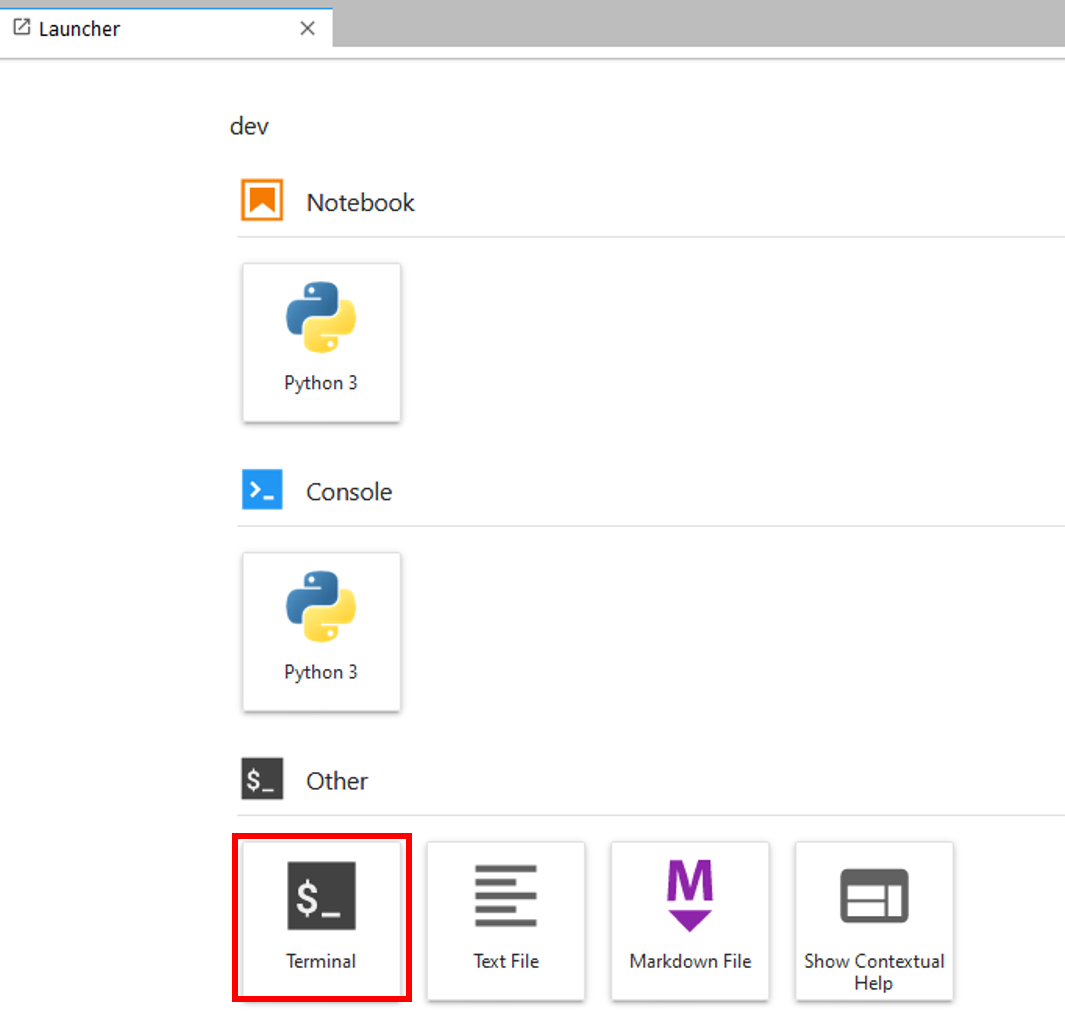
The ultimate tool for file versioning with Git in the DE Africa Sandbox is the Terminal. You can open a Terminal window from the Launcher tab by clicking on the Terminal icon.
In this section, we will show how to use Terminal to create a branch and push changes to your fork. This involves typing commands into the Terminal command line.
It is assumed you have forked and cloned the deafrica-sandbox-notebooks repo as described in the Connect to Git section. Familiarity with the section Git with the Git menu, including concepts such as push, pull, branch and commit will be useful. If you are new to Git, you are encouraged to try both tutorials.
Please ensure you have also updated your fork to match digitalearthafrica:master by selecting Fetch upstream and Fetch and merge from your fork’s GitHub page.
A recap on why we create a branch to make changes:
The
masterbranch is the main branch that contains all the most up-to-date and tested codeEvery time you want to add a new feature or test code, you make a new branch
The new branch contains all of the code from
master, but any changes made to that branch do not affectmasterOnce you are confident your changes are working, you can request to add your changes back to
masterin a Pull Request (covered in a later section of the guide)
Terminal: a breakdown
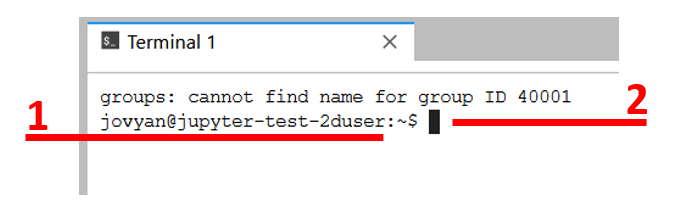
The Terminal interface has two main components:
The current directory you are in
The command line, where you can type commands
Check your clone is up to date
Open a Terminal window from a Launcher tab. You can open a new Launcher tab by pressing the + button at the top of the File Browser menu.
Terminals automatically start in your home directory. Type ls and press Enter on your keyboard to show all files and folders in your home directory.

Change the directory of your Terminal to your clone of the
deafrica-sandbox-notebooksrepo. This can be done by usingcd, the “change directory” command. The syntax iscd <folder name>/.
In Terminal, type:
cd dev/deafrica-sandbox-notebooks/
and hit Enter. Notice your directory has now changed: the $ is now after /dev/deafrica-sandbox-notebooks.

Check your clone is up to date by running:
git pull
This will pull any changes between your fork and this local clone.
Terminal tips
Press the Tab key on your keyboard to auto-complete file paths and file names. This is much faster and generally more accurate than typing manually.
Press the Up arrow key on your keyboard to access Terminal commands you have previously executed. Great for repeating a command.
The File Browser does not show which directory your Terminal is in. Terminal directory location and File Browser folder location are completely independent.
The File Browser does show the content of the branch you are in. This means files in one branch but not another will appear or disappear when you switch branches. Therefore, it is always good to know which branch you are on.
Terminal commands are case-sensitive.
By convention, Terminal code is often identified with a ! at the start of the line, but for clarity will not be used in this tutorial as ! is not required in Terminal itself. (Jupyter Notebooks allow Terminal commands to be run inside .ipynb files by using code cells starting with !; this is not covered here.)
Tutorial: Use Terminal to create a new branch and make changes
We will use the Terminal in the Sandbox to:
make a new branch;
add a file (this will be done using File Browser, although it can be done by Terminal);
commit the changes; and
push the changes to the remote repo.
Your Terminal commands may be different if you have named your repositories or branches differently from the examples provided here or in the Connect to Git tutorial, or if they are located in a different folder arrangement.
Make a new branch
In the Terminal, navigate to your
deafrica-sandbox-notebooksdirectory if you aren’t there already.
cd dev/deafrica-sandbox-notebooks/
Make a new branch using the
git checkout -bcommand.git checkoutmoves between branches, and the-bcreates a new branch.
git checkout -b git-terminal
You will see the message Switched to a new branch 'git-terminal'.
Add a new file
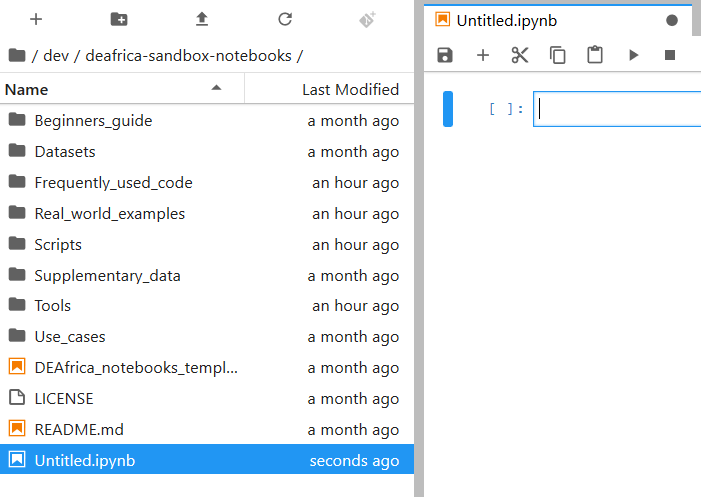
Open the File Browser. Navigate. Click on the Notebook > Python 3 icon in the Launcher to make a new Jupyter Notebook file.
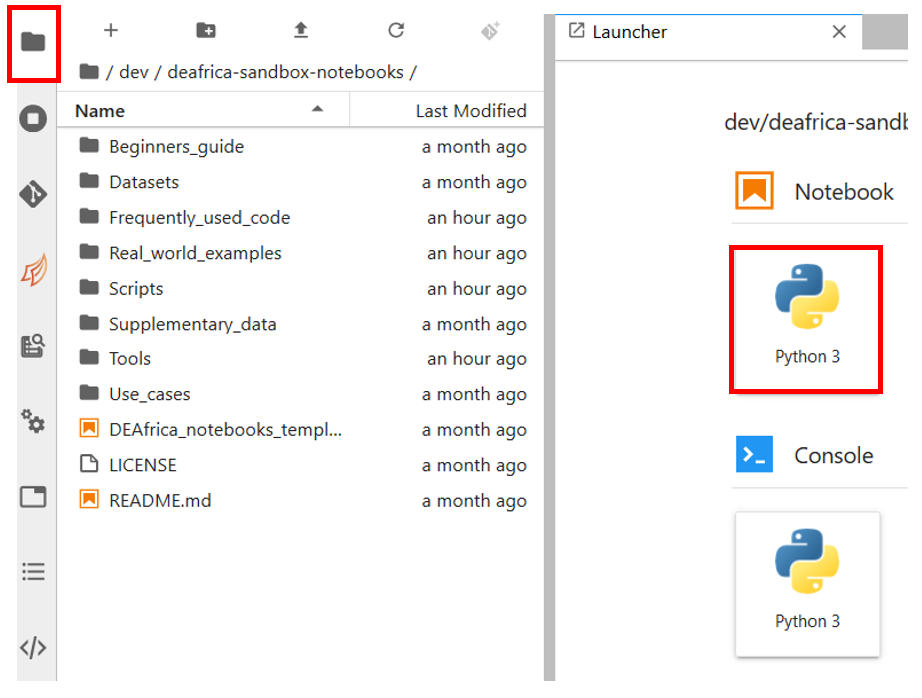
The file will automatically open.
Type something in the first cell of the file, for example
print("This is a change to the git-terminal branch"). Ensure the dropdown menu at the top of the file says “Code”. PressShift + Enteron your keyboard to execute the cell. This will print the text you entered underneath the code cell.
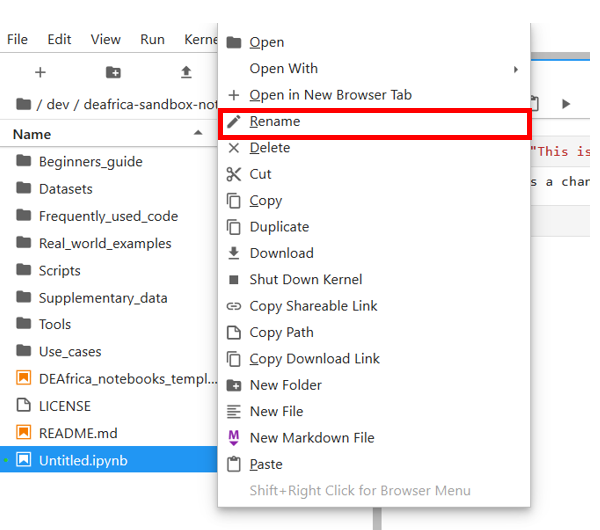
Let’s rename the file. Right-click on the file in the file browser and select Rename.
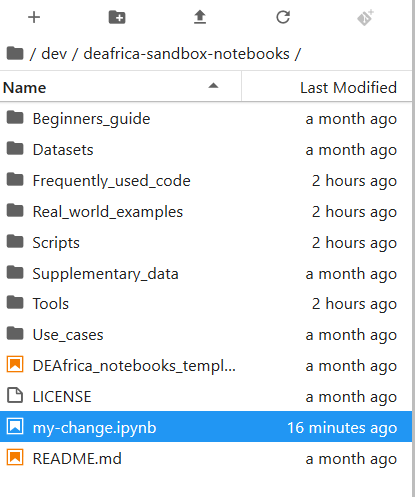
Type your new file name. Here we have called it
my-change. It has the file extension.ipynb.
Commit changes: track new files
Go back to your Terminal tab and run
git status
This will show output indicating current branch and untracked files, such as the new file you just created.

As suggested in the Terminal output, we use
git add <filename>to start tracking the file.
git add my-change.ipynb
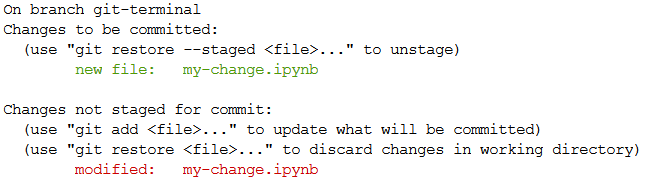
Run git status again to see the file name has changed to a green colour and it no longer says untracked.

Go back to
my-change.ipynband add some text or code. Save the file.Switch back to the Terminal tab and run
git statusagain. The modifications show up as unstaged changes.
Run git add my-change.ipynb again to include the new modifications in your commit.
When all the changes you want to make in that commit are staged, run the command
git commit -m "This is a brief description of my commit."
The text in the quotation marks should be replaced with a brief description of the commit.
Run
git statusagain, and your committed changes have disappeared. The output will saynothing to commit, working tree clean.
Commit changes: set upstream
The easiest way to set upstream is as follows:
Run:
git push
This will give you the error message
fatal: The current branch git-terminal has no upstream branch.. It will suggest to you a command that looks like:
git push --set-upstream origin git-terminal
The suggested code is usually correct. Use your mouse to copy the suggested line of code. Copy by pressing
Ctrl+Cthen click back to your command line text cursor. Paste usingCtrl+Vand pressEnterto run.Enter your GitHub username and Personal Access Token or similar, as prompted.
Push committed changes
Return to your Terminal tab. Run:
git push
Enter Git credentials as prompted.
Congratulations, you’re all done. As suggested in the previous section, you can now go to your fork on the GitHub website and check for your new branch, git-terminal, as well as the new file only visible there.
Git checklist with git status
Things to check when you log into the Sandbox and start working on your open-source code project:
Have you fetched and merged upstream so your fork is up-to-date with the original repository?
Which branch are you on? Is that the correct branch to be working from?
Have you pulled and merged the latest changes to your clone from your fork of the repository?
The git status command will help you identify which branch you are currently on, as well as list any staged or unstaged changes, and any untracked files.
Terminal command summary
cd <folder path>Changes directory to the new folder pathcd ..Goes up one on the folder path (back one folder)cdResets directory to homelsShows files and folders in the current directorygit statusSummary of your Git repositorygit pullPulls commits from the remote to localgit checkout -b <new branch name>Creates new branch based off current branch and checks out the new branchgit checkout <branch name>Checks out existing branchgit add <file or folder>Stages all changes in the file or foldergit commit -m "description"Commits staged changes to a commit described by the descriptiongit pushPushes commits to the remote repo
With a bit of practice, Terminal commands are faster than using the Git menu interface, and can provide a greater level of control and flexibility.
Common issues
Terminal error “fatal: not a git repository”. This occurs when your Terminal directory location is not a folder linked to a Git repo. Your home directory is not linked to Git, and your
devfolder is not linked to Git.One of my files has disappeared but I did not delete it. You could be on the wrong branch. Run a
git statusto check your current branch. Usegit checkout <branch name>to move between branches.Git is not accepting my Git password when credentials are requested. For security reasons, the Sandbox requires a Personal Access Token separate to your password, or another form of multi-factor authentication. They are simple to set up. See the official GitHub article and guide linked on the Connect to Git page.
As Git is well-documented online, it is recommended you Google search any issues when troubleshooting.
GitHub wiki tutorial
A concise version of this tutorial can be found on the deafrica-sandbox-notebooks wiki. It also contains useful Terminal commands not described here.
Next steps
One way or another, you have made changes to your fork of the repository. You’ve branched, committed, pulled and pushed, and your code is ready to be seen by the masses.
The only problem — it’s on your GitHub repository and no one else knows it’s there. Time to fix that: the next section shows you how to make a pull request. Pull requests allow users to propose code mergers between repositories and branches through a documented review system.
Click Next to continue.